


Trezor Model T cryptocurrency wallet. What you need to set it up and how to use it
Trezor T is a hardware cryptocurrency wallet from the popular Czech company SatonhiLabs. This model has a large touchscreen display, a user-friendly interface, and an SD port. The device supports many types of cryptocurrencies, such as Bitcoin, Ethereum, Erc20, Ripple, Litecoin, Bitcoin Cash, Tether, Stellar, Cardano, Monero, Dash, Ethereum Classic and many others. Wallet setup Before connecting for the first time, read the instructions on the package cover, and you can also use the Getting Started guide, as this is a necessary item before setting up. Once the device is connected to your personal computer, a message will appear on the screen welcoming you and asking you to go to trezor.io/start page 
Once on this page you will need to select TrezoModel T and continue to configure the device.
TrezorBridge software installation The required software is the TrezorBridge drivers that make the customization between the cryptocurrency wallet and the user interface. These drivers have a list of supported operating systems such as Linux, macOS, and Windows. After downloading and installing them, you will be automatically redirected to the download page needed for the firmware. 
Proceed to flashing the device
After the user interface detects the device connection, you will be automatically prompted to install the firmware. 
The manufacturer does not flash the device before shipping
Firmware installation is needed for only two items:
1. First of all, for security reasons, as it makes sure that no one else has used the device before you.
2. To ensure that the user always has the latest and most up-to-date version of the firmware, which allows you to use all the features of the wallet.
After each new launch of the device, the firmware is automatically checked for authenticity. If third-party software is detected, a warning window will pop up on the display. To install the required software, you need to follow the instructions on the screen. 
Wallet creation
After installing all the software, you can start creating your wallet. 
click “create wallet”
After you create your cryptocurrency wallet, it will be ready to use in a couple of seconds, but do not rush to use it immediately, because first you need to complete one process of configuration, which will appear on the screen of the device and computer with a message that says “Your device has no backup”
Backup cryptocurrency wallet Now we have moved on to the main stage – Backup of the wallet. Copying all backup data is creating a 12-word key, which you will need in case of device failure or loss. This way you can return all accumulated crypto-assets to another TrezorModel T device, and choose one of those that support BIP39. 
Now you must click on the button that appears on the right side of the “Create Backup” screen. Next, recommendations will appear, which you need to familiarize yourself with and accept.
After that the device itself will create and display on the screen (the list will be on 3 pages) unique key-phrases consisting of 12 words, which you can write down on the complete paper media resistant to water.  After this procedure, the device will ask you to enter two keywords selected randomly from the main key-phrase. This way it will check the correctness of the words you have previously written down. If you have an error in a word, the device will go back to the previous point and show the words again. Once you have successfully confirmed two verification words, the wallet will notify you that you have passed this stage of settings.
Pin Code Creation
Pin codes are necessary for you to ensure that no one can access assets without your consent. A complex pin code can ensure that the owner of the wallet is the one who can make transfers. The length of the code consists of nine digits.  It is worth noting that after pressing on a digit, the order for entering the next one will change. This technology is used so that no outsider can memorize what you enter.
The last step is to complete the installation
In the last step you will be offered to subscribe to the newsletter from the manufacturer to be informed about future updates. This one should not be skipped, as you may miss a lot of useful information. 
How to use the Trezor Model T wallet
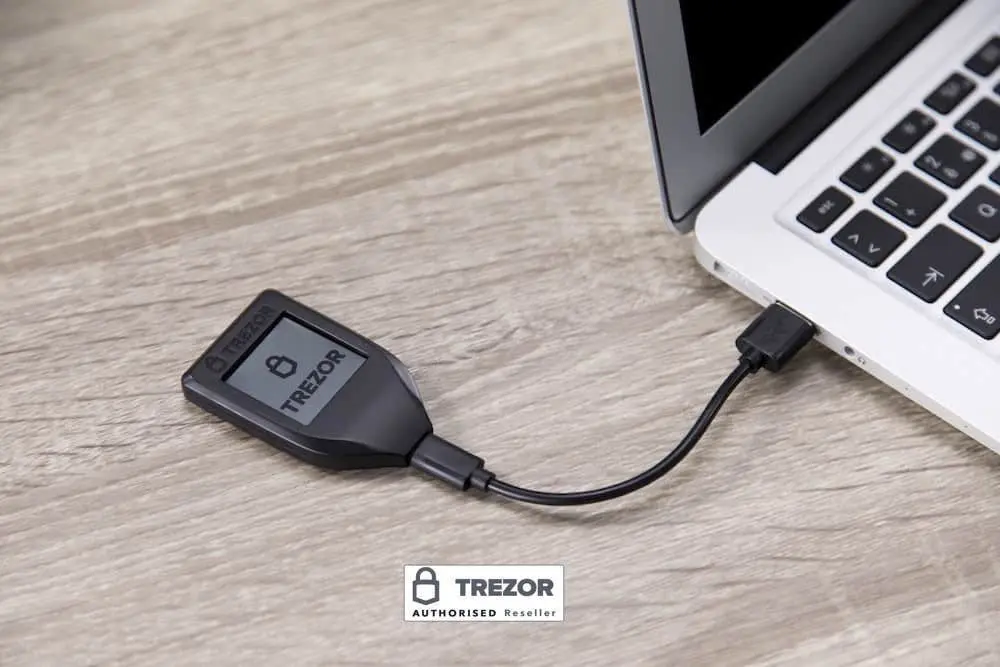
Before you start using it, you need to connect the device via USB cable to a computer that has the TrezorBridge program. We recommend using the included USB cable, as other cables may cause problems. 
When the device is connected to the computer – it will always be locked (if there is a PIN set). After you enter the Pin, you need to go to trezor.io/start and click on your model.
How to get cryptocurrency  There is a pop-up button above the name of your device where there is a list of currencies you can select. When using it for the first time, the initially exposed currency is Bitcoin (BTC). Next, you go to the “Get” tab. For security reasons, the display of the public address is not complete. In order to see the full address, you need to compare it with the one on the wallet screen. Then click “show full address” and compare it on the device.
  After these manipulations you will be able to receive currency to this address. For more convenience in sending, you can use a QR code – it allows you to avoid errors when entering manually.
After you receive funds to the first address, you will be offered to use another one. This feature is designed to preserve your anonymity. This does not mean that you will no longer be able to use the first address, but it will allow them to track the transactions you have made. It is recommended that you use a new address before making each subsequent transaction.
How to view transactions
 Launching the device you can see the transaction section, which shows how the cryptocurrency we have is moving. Transactions that come into the wallet are green, and outgoing assets are marked in red. By hovering over the amount, you see the value of the cryptocurrency for fiat. From the additional information you can display a graph of inflows/expenses, the value of crypto assets on the cryptocurrency market and the total balance. To analyze the information in detail, there is a possibility to upload payment history in a CSV table.
Additional information is displayed when you hover over a label
Once Labels are activated – it is possible to name accounts, transaction descriptions and addresses. Search bar indexing takes place and you can now search for the receipts or payments you need by keyword.
How to send crypto assets 
Cryptoassets are sent in the Send tab by filling in the required fields:
- Send address – enter the address to which we want to send the cryptocurrency.
- Comment – if the label function is open, we can write a comment. If everything is done correctly – near the field with the recipient’s address we will see the comment.
- Send amount – in this box we can see how many coins we are sending.
- You can also see how much fiat is the total amount of sending, paying attention to the right field. There is also an option to enter the cryptocurrency in fiat.
- Commission – when working with mining pools, the commission of the pool that confirms the block is requested. It is selected optionally, or entered independently through the “other” tab.


If all fields are filled in correctly, you need to confirm the action by clicking on the “Send” button. The following actions are performed through the mechanical wallet.  Anything we do via a PC or related device must also be confirmed via a mechanical e-wallet and vice versa. That is, funds can only be used through mechanical confirmation. This is the main protection of your finances, which is what this gadget is for. No one can use what is stored in the wallet except you.


Feedback (0)
Leave a review